Configuration study#
At this Configuration study page you can customize what study information is displayed in SMASCH.
To start study configuration go to Study in Configuration in the left panel. Below Edit study page will be displayed.
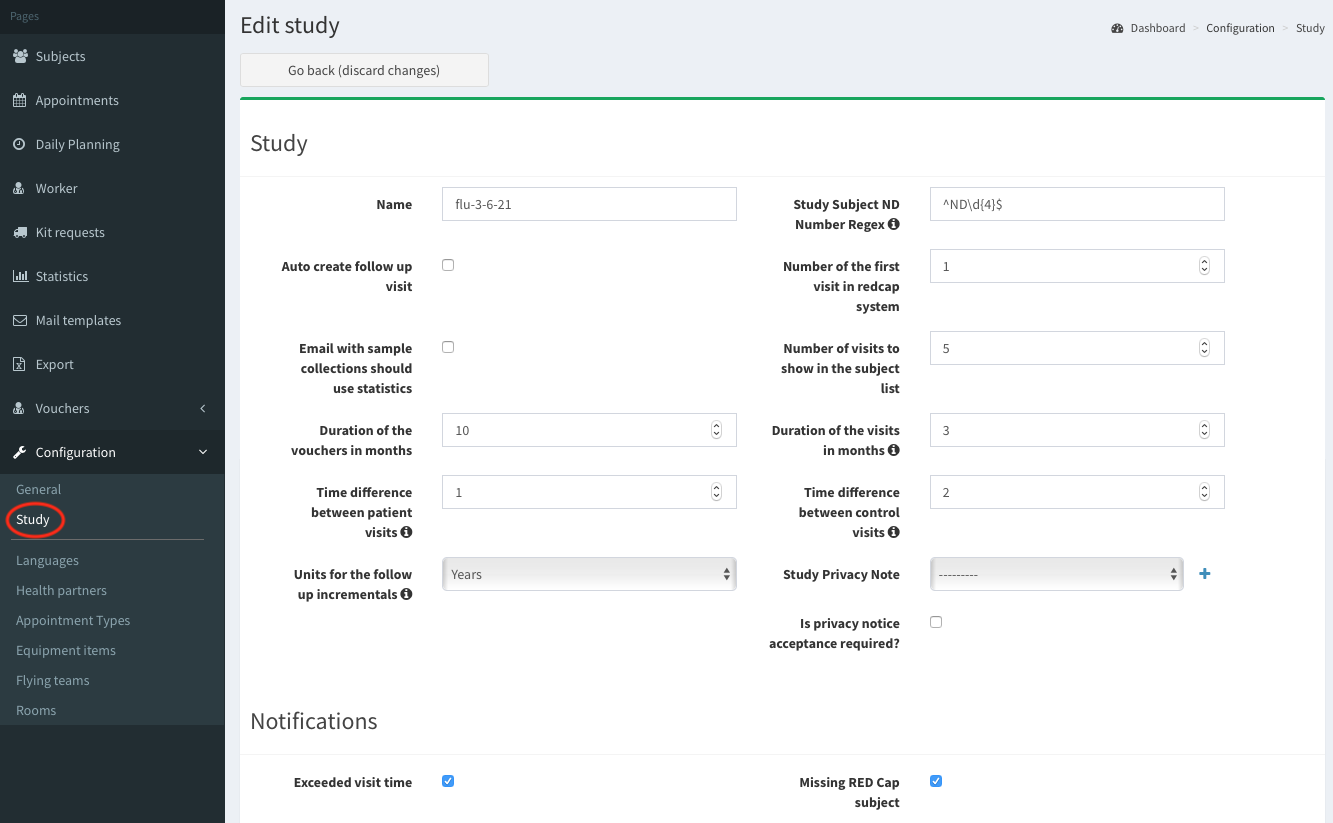
There are few sections concerning SMASCH configuration. Scroll down to get familiar with all of them. After your SMASCH instance is configured, save to changes by click on Save button at the bottom of the page.

Study#
Here you can provide and customize the study details. Below the image, we explain particular options of the study. Also, you can hover over i icon, next to the field description, to display more information.
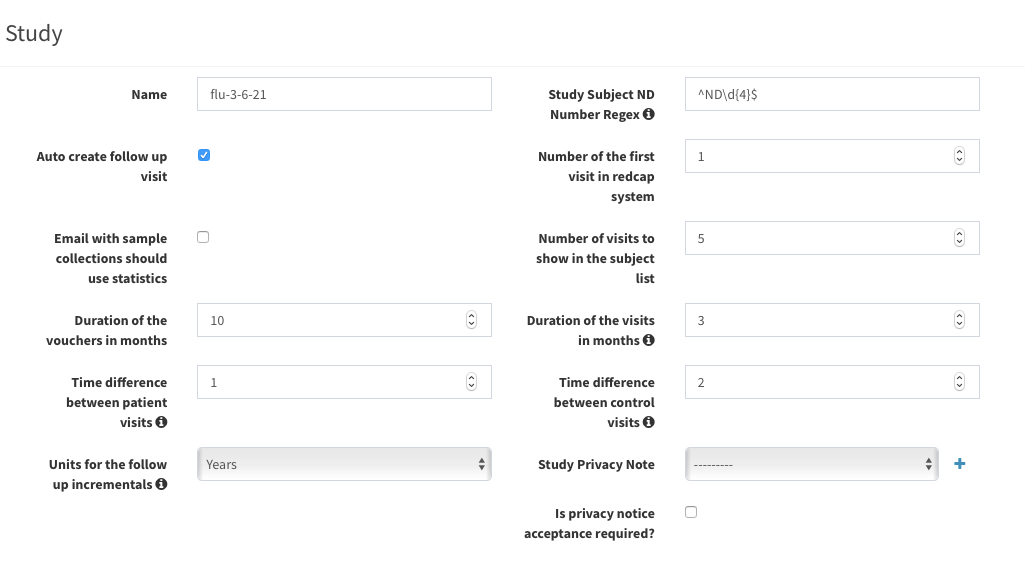
- Auto create follow up visit : if checked - after marking the visit as finished, there is automatically added a follow up visit for the subject. The date of the new visit is set basing on these study options:
- Time difference between patient visits
- Time difference between controls visits
- Units for the follow up incremental
Example: According to settings in the image above: if a patient finishes a visit on 18.08.2021, the follow up visit will be added year later - on 18.08.2022.
Time difference between patient visits: the time difference between visits used to automatically create follow up visits for the patient.
Time difference between control visits: the time difference between visits used to automatically create follow up visits for the control.
Units for the follow up incremental: years/days. Choose the unit of time to create a follow up visit.
Duration of the visit in months: the time interval, in months, when the appointments may take place.
Duration of the vouchers in months: the period of time while the voucher is valid. After this period, you will get notification that the voucher is expired.
Email with sample collections should use statistics: this option customize sending kit request email.
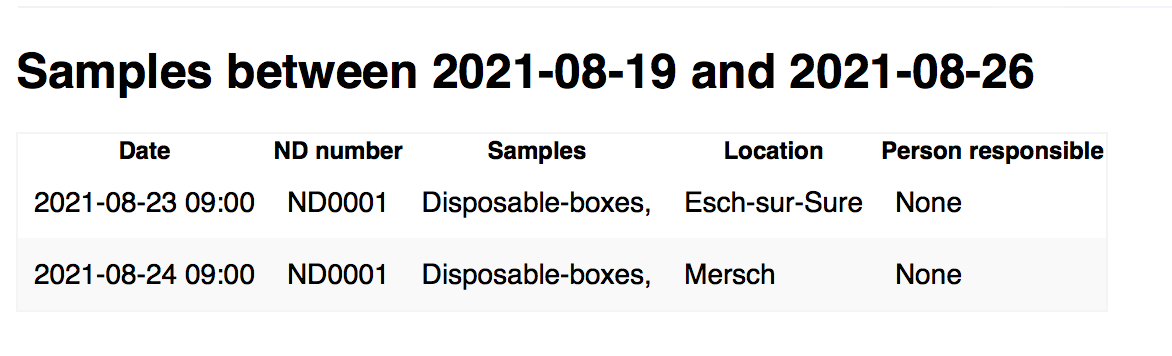
- If the checkbox is unchecked, the kit request email contains exactly the information you find in kit request page (e.g. date, location, subject number). The aim of this email is to provide the details of the samples which will be taken during the upcoming appointments. Also, the email is sent automatically, with the frequency configured in general configuration.
Example of kit request email is shown below:
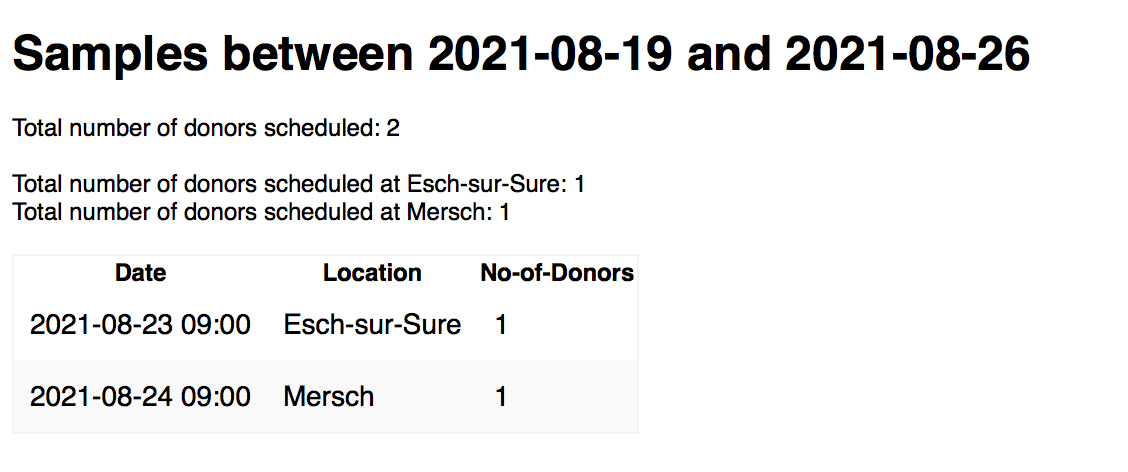
- If the checkbox it checked, then the email contains the total number of subjects who will visit particular location. Also, the email is generated and sent automatically daily, not as per general configuration.
Example of kit request email (with statistics) is shown below:
Study Subject ND Number Regex: defines the regex to check the ID used for each study subject. Keep in mind that this regex should be valid for all previous study subjects in the database.
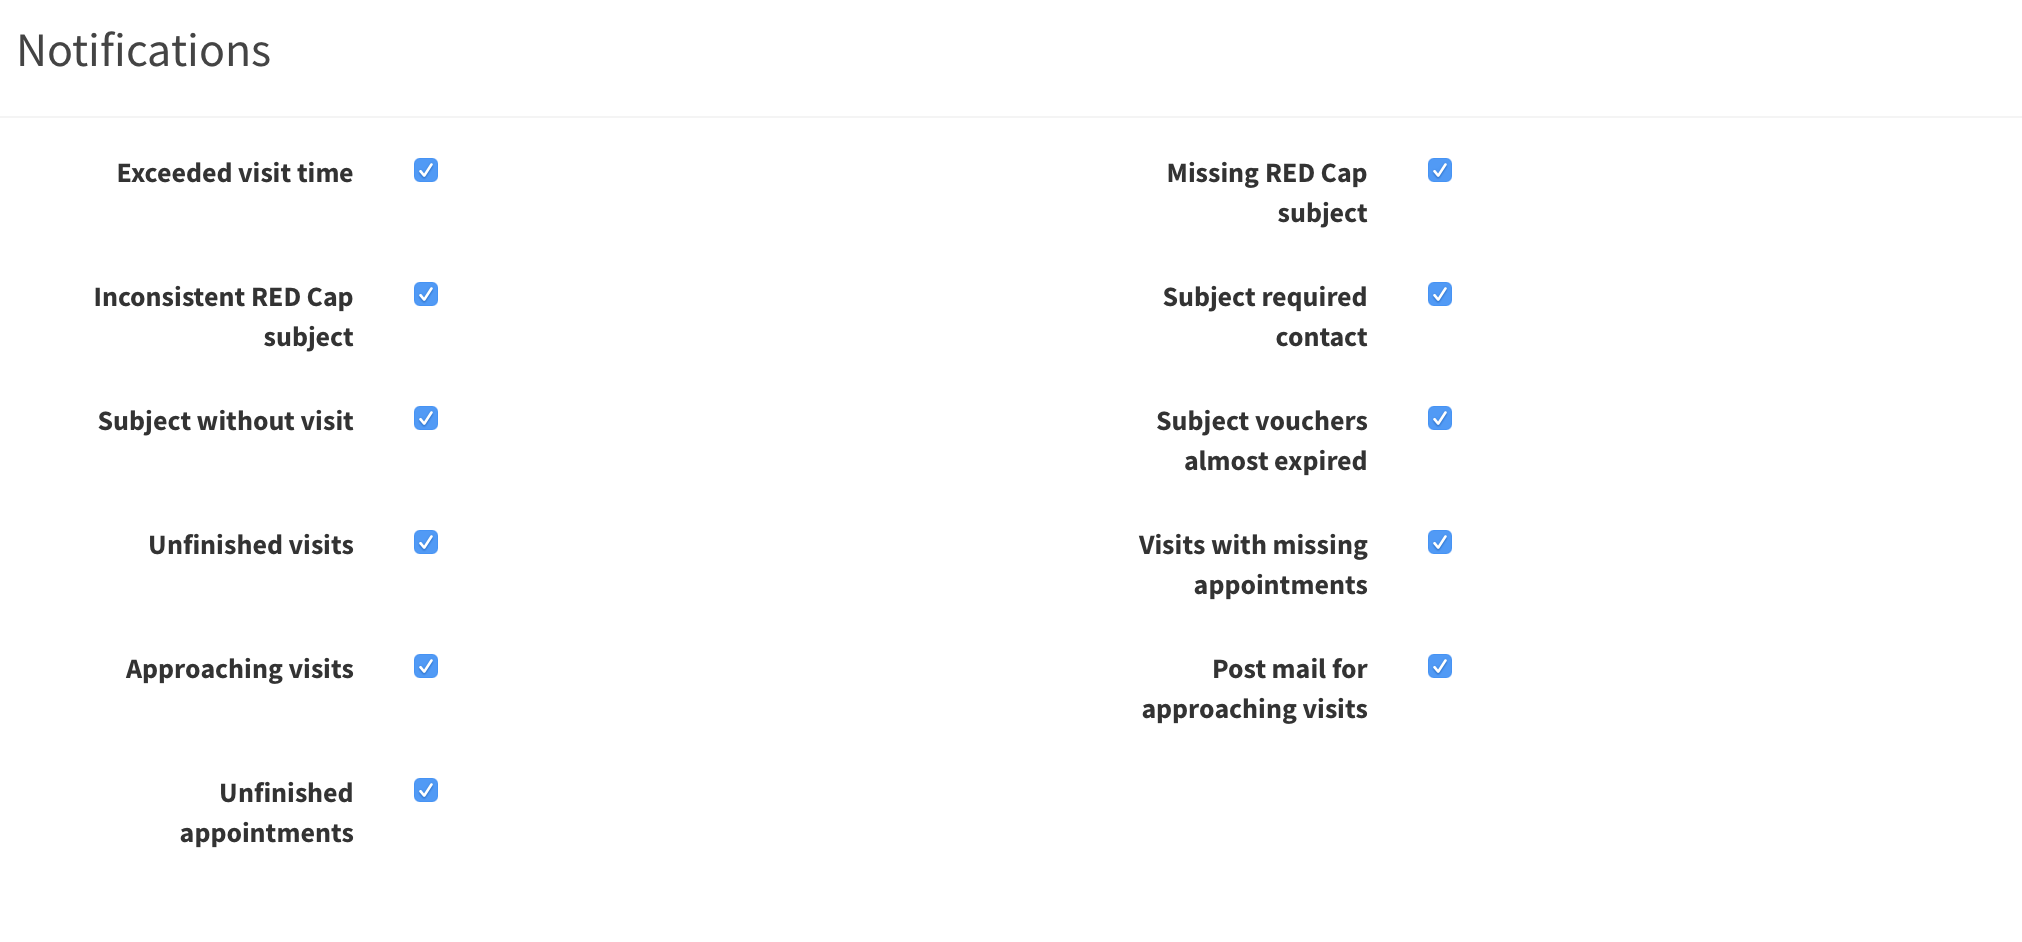
Notifications#
Here you can customize the events you want to be notified about. It here are any notifications they are displayed in the top right corner of the browser. Uncheck/check the notifications checkboxes, then scroll down and click Save button at the bottom of configuration page.
ETL#
Here you can import automatically or manually a file containing the details of subjects or visits, which will be displayed in Subjects / Appointments page. If data from input file contain information about existing subject/appointment the information in smasch will be updated.
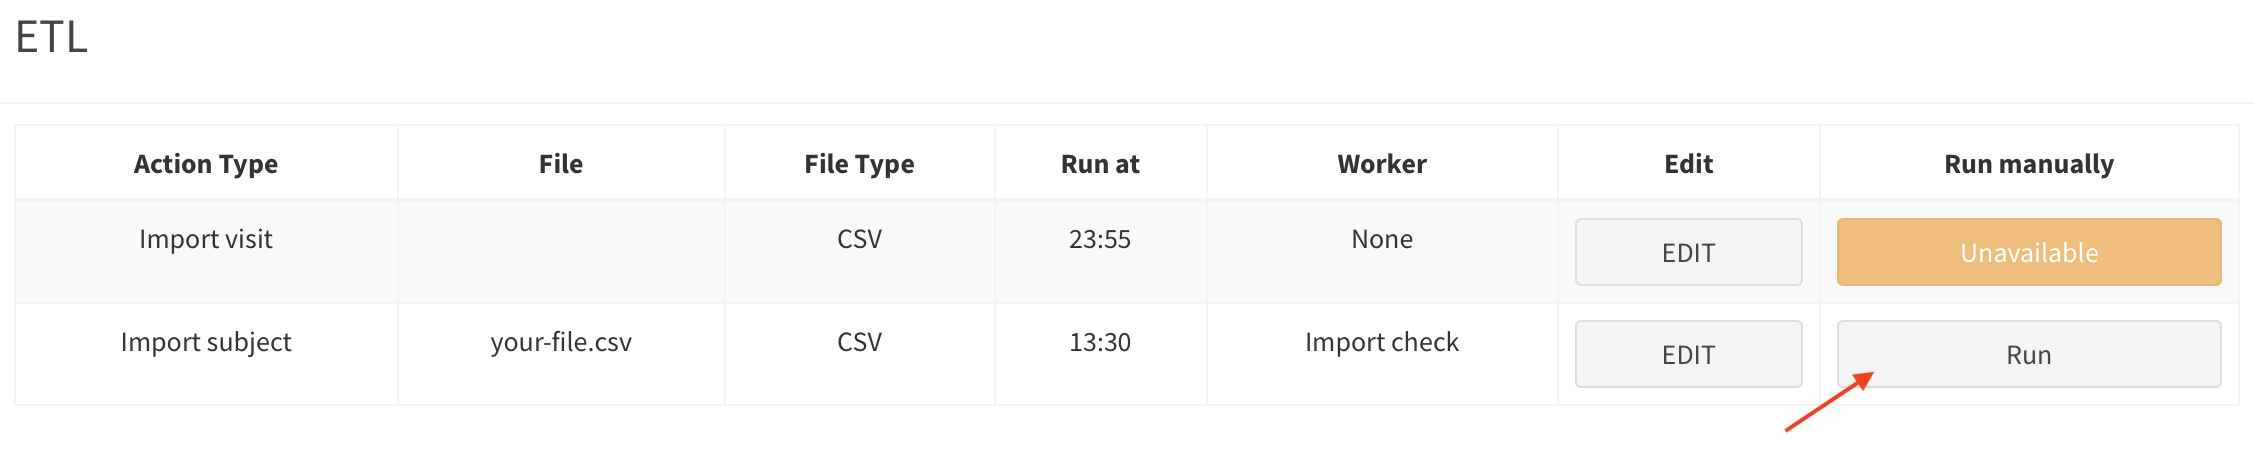
Go to Configuration > Study > ETL and click Edit button.
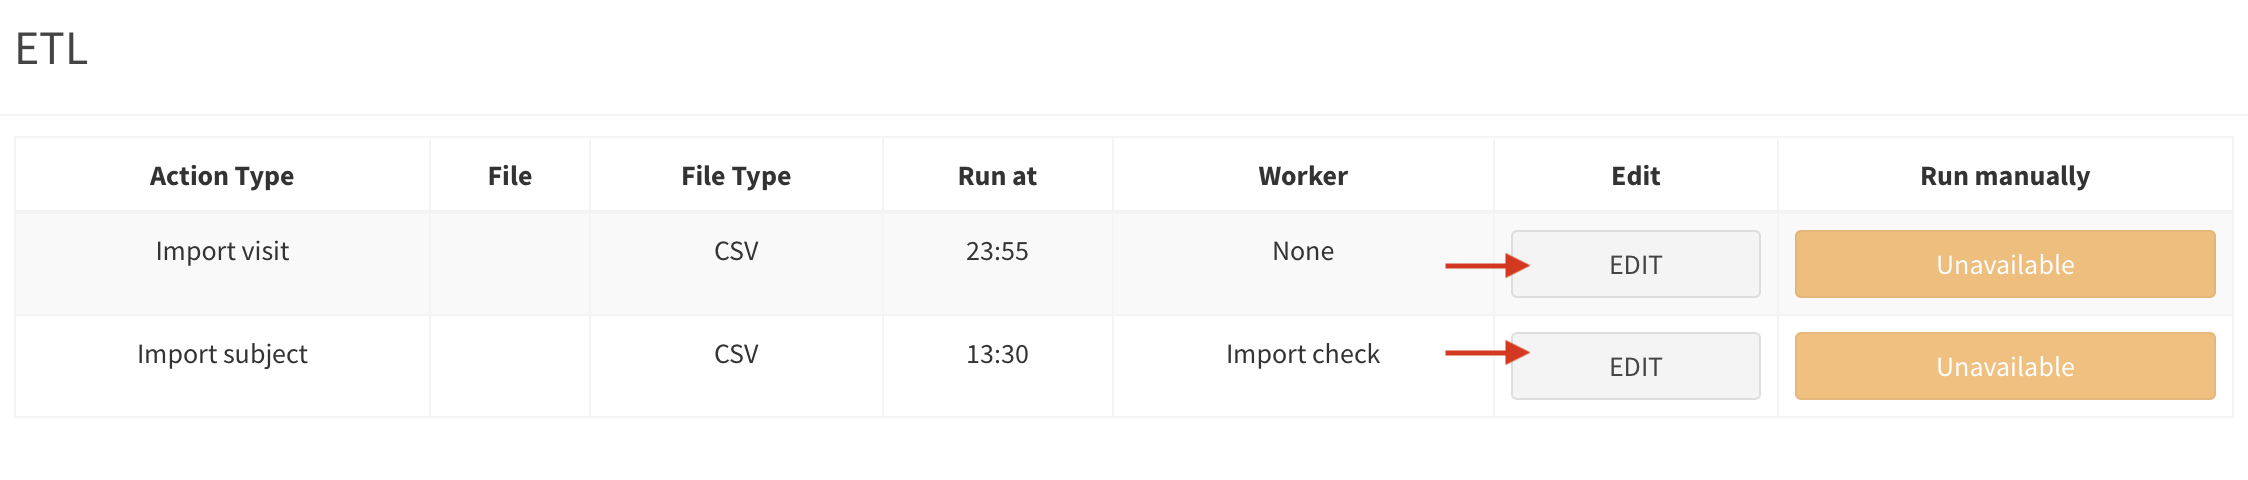
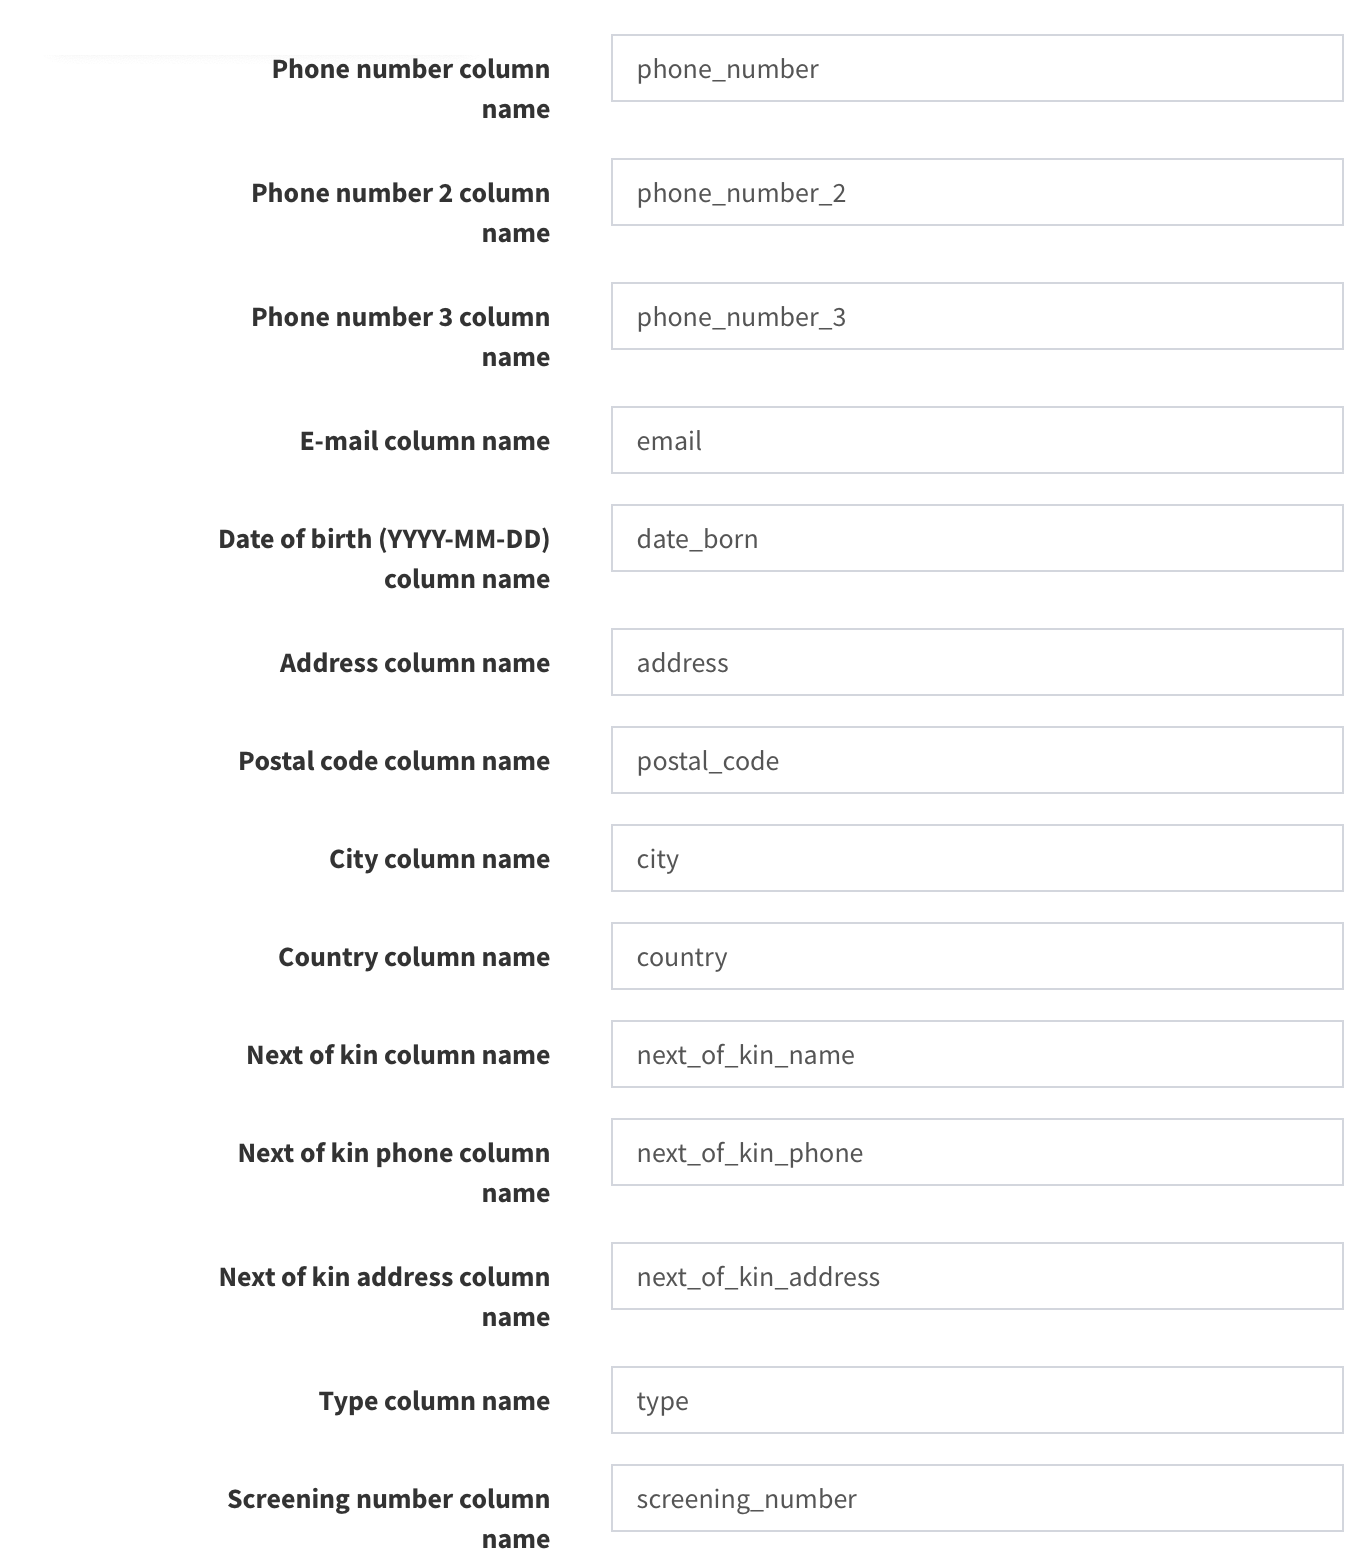
There you can edit details of importing subjects/visits. Fill the fields in the form with the same names you use in the header of your csv import file.
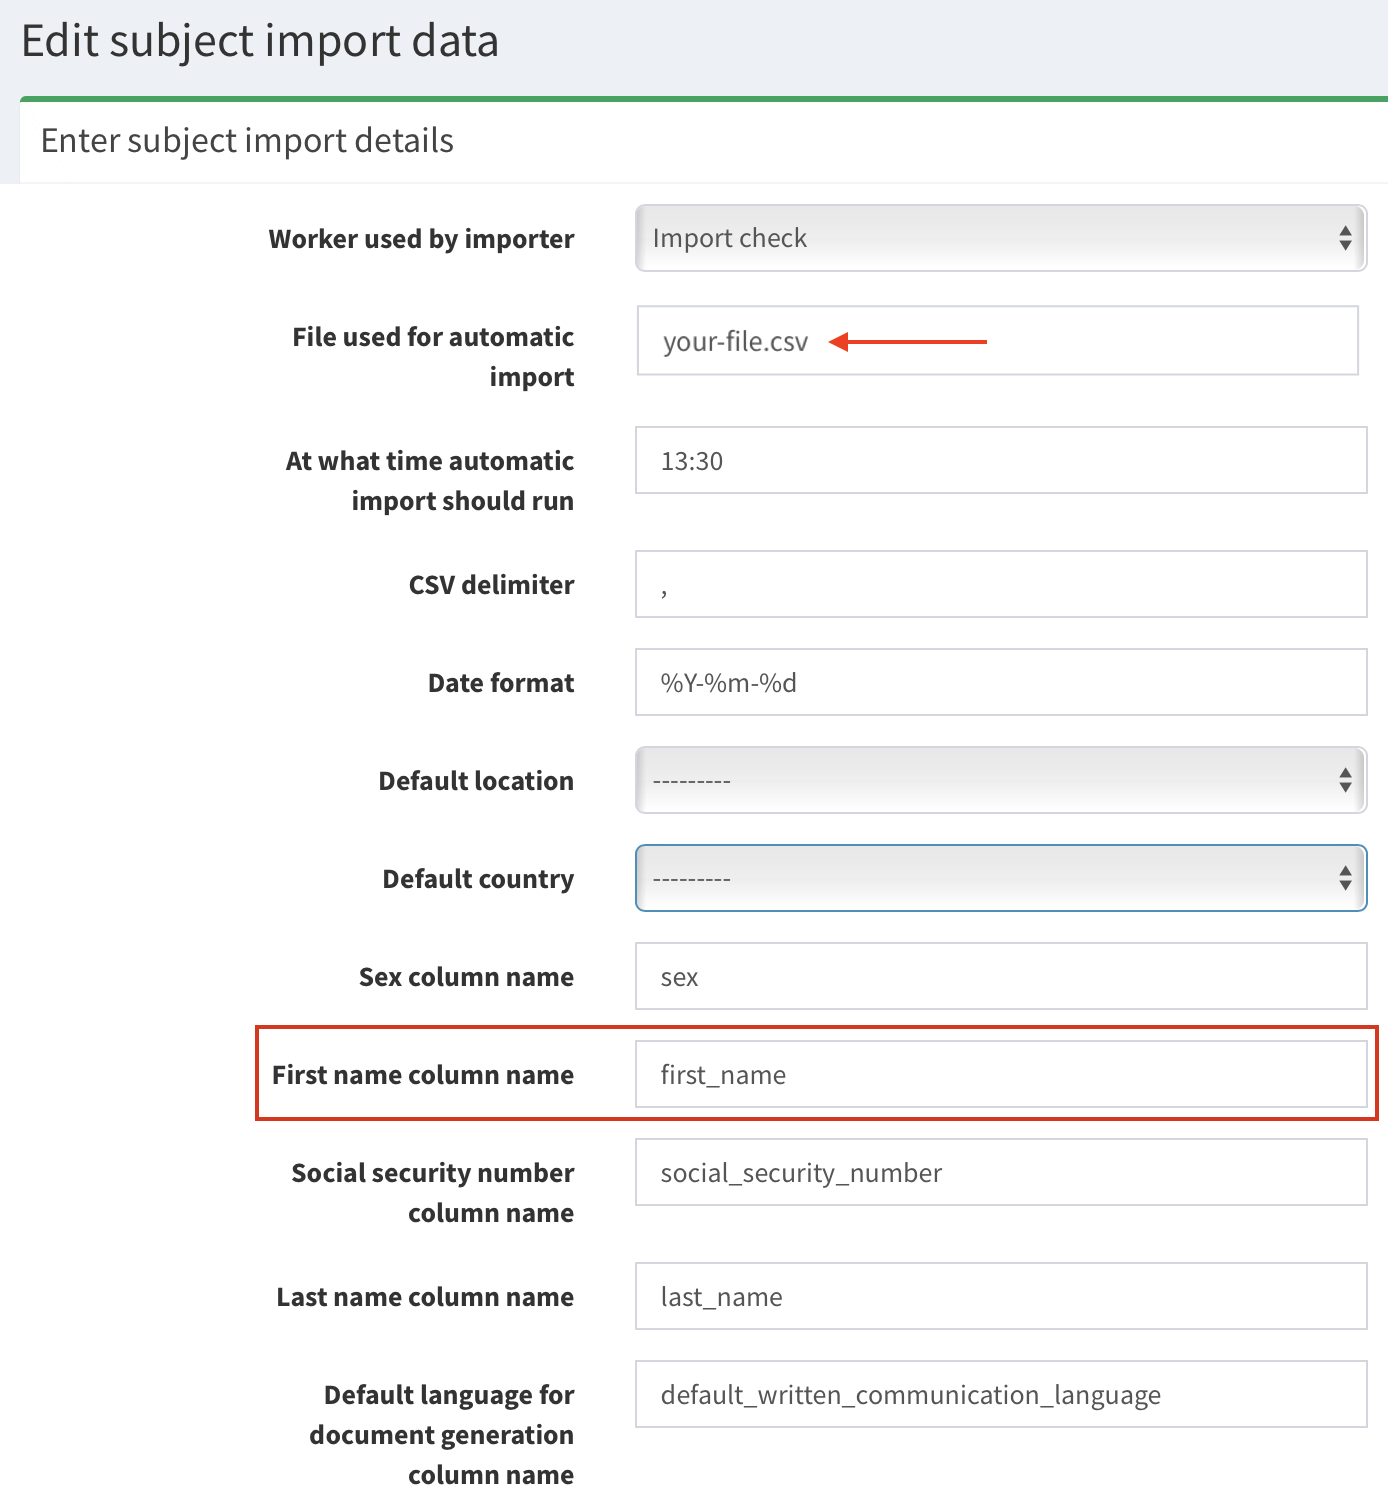
For example (image below):
- Your import file is called:
your-file.csv. First Name column nameof subject is linked tofirst_name. It means in your csv file there is column with the headerfirst_name.
Then, save the ETL setup in your SMASCH instance.
Now, the next step is to create/update your csv file on SMASCH.
- Log in via ssh to SMASCH virtual machine:
ssh your.user@10.240.16.163 -p 8022- Log in as user
smasch- granted with permission to modify the import file:
sudo su - smasch- Go to directory smasch directory with ETL files:
cd /usr/lib/smasch/data/etl- Create
your-file.csvinetldirectory. To identify the subject, the import file must contain the reference tosubject numberorscreening number. Without at least one of these columns in the csv file, import will fail.
Example of import file:
In SMASCH Configuration > Study > ETL: Subject number column name = nd_number.
Import file must contain column named nd_number. Data from this column will be displayed in SMASCH as subject numbers.
first_name,last_name,city,nd_number
John,Doe,Belval,ND0099
Ian,Smith,Luxembourg,ND0100
Now you can click Run button, if you would like manually import Subjects list.
The automatic update will be performed daily using the hour(s) provided in the Run at field.
Visible columns in subject list#
In this section you can set up which columns (i.e. First name, Type) are visible by default in the Subjects lists.
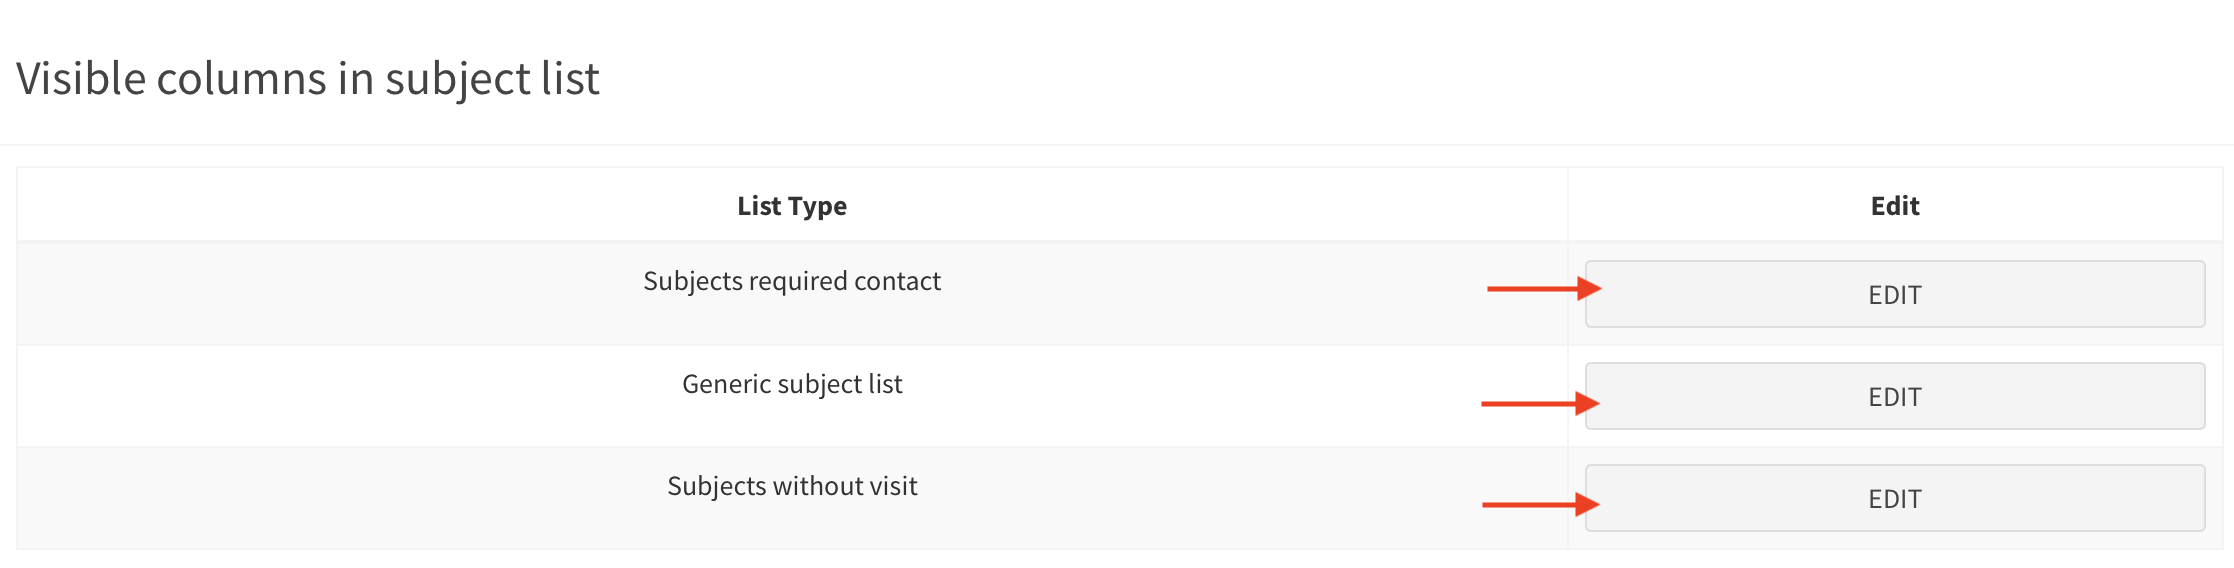
Click Edit button to set up your default columns view. Later on, click Save.

Where are the particular lists?
- Generic subject list (the list in Subjects page)
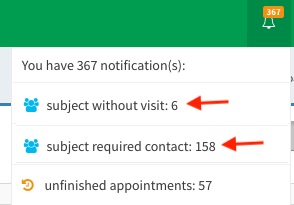
- Subjects required contact (sublist of Generic subject list; the list is available in notifications, see image below)
- Subjects without visit (sublist of Generic subject list; the list is available in notifications, see image below)
Custom study subject fields#
Here you can add a customized field to the subject study details.
- Click on the plus icon.

- Fill in the fields, then click Add.
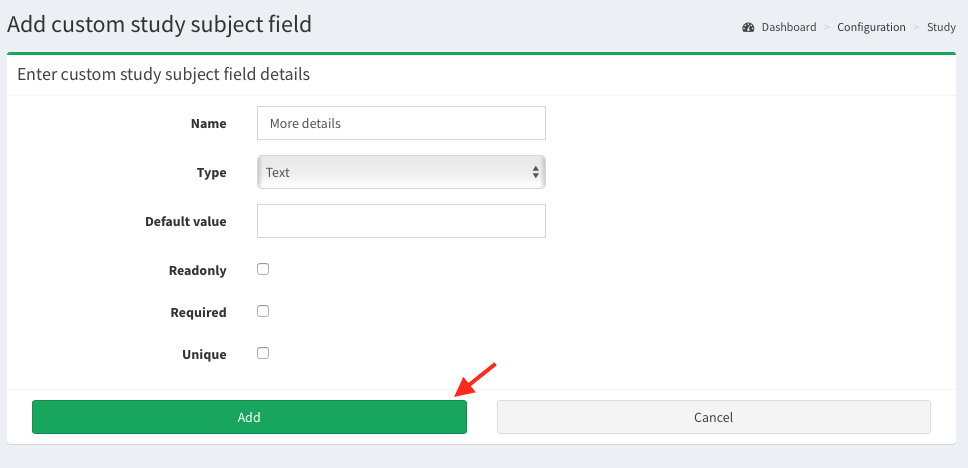
- The additional field is displayed in the Subject’s study details in Add/edit subject page.

- The additional field can be used as placeholder in Mail templates page.

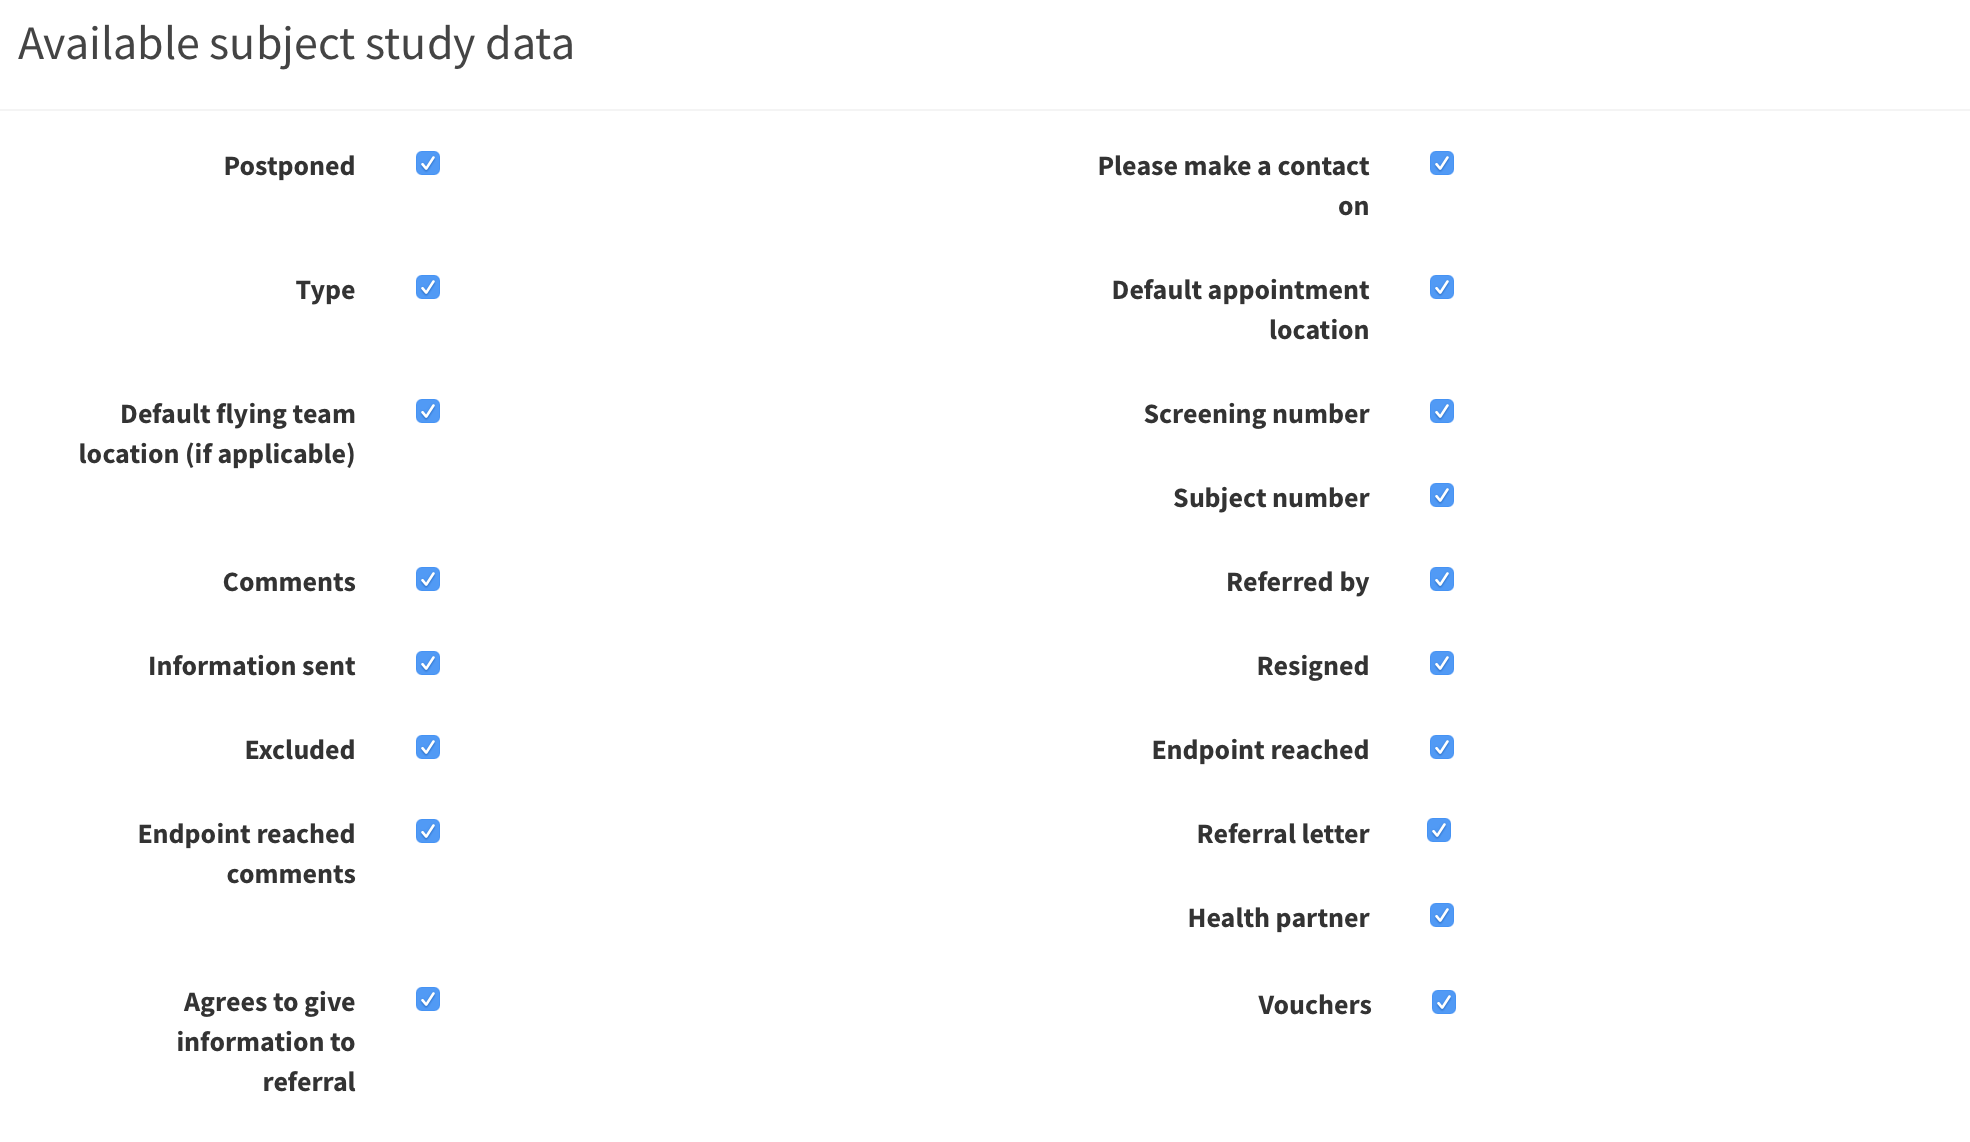
Available subject study data#
In this section you find the details of the study which corresponds with Subject’s study details in Add/edit subject page. Here you can customize which subject’s details will be displayed in Subject’s study details section.
Note: if you uncheck Vouchers here, this feature will become inactive. Therefore, the vouchers will not be displayed in the left menu and you will not be able to add a voucher type, voucher partner or a new voucher at all.
Uncheck/check the checkboxes, then scroll down and click Save button at the bottom of configuration page.
RedCap fields to check for inconsistencies#
In SMASCH we keep only essential information of the subjects. The study data itself is stored in RedCap. To keep SMASCH records up to date, we compare SMASCH and RedCap contents to check for any inconsistencies. In this configuration section you can select fields which should be verified between the two platforms.
