Add new worker#
- Click on the Worker button on the left column.
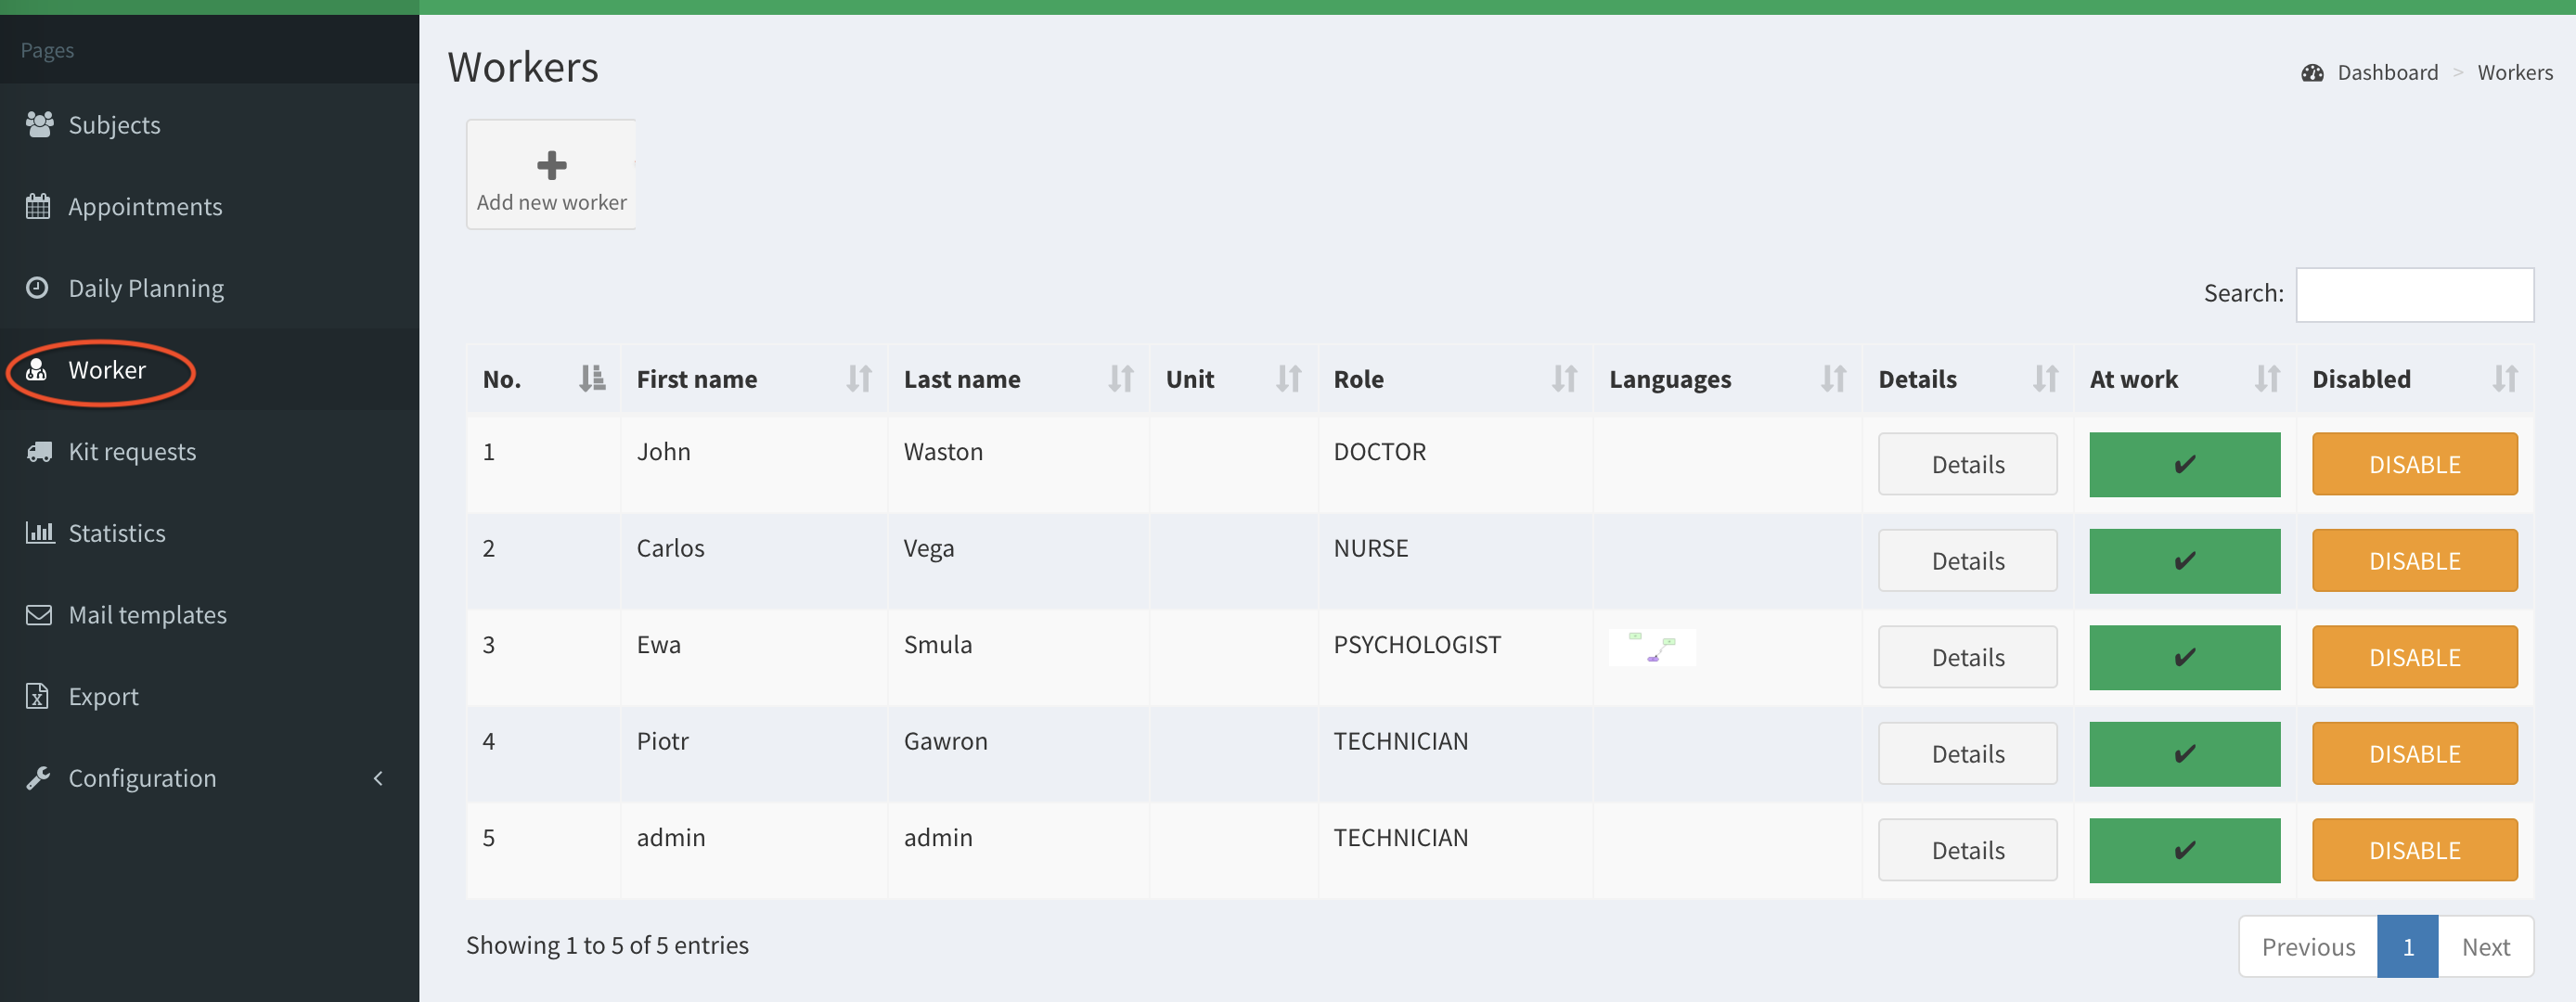
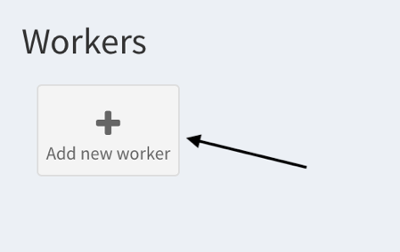
- When you arrive to the Workers page, click on the Add new worker button.
- Then you need to complete the information fields to configure the new worker.
Note that:
In the field Locations if no item is chosen, the Worker is not displayed in Daily Planning.
The worker can create an appointment only for the locations assigned to her/him. Moreover, in the appointments calendar view, the worker sees only appointments from her/his locations.
Login can contain only alphanumeric characters or dot.
Password must be at least 10 characters long and contain at least 1 digit.
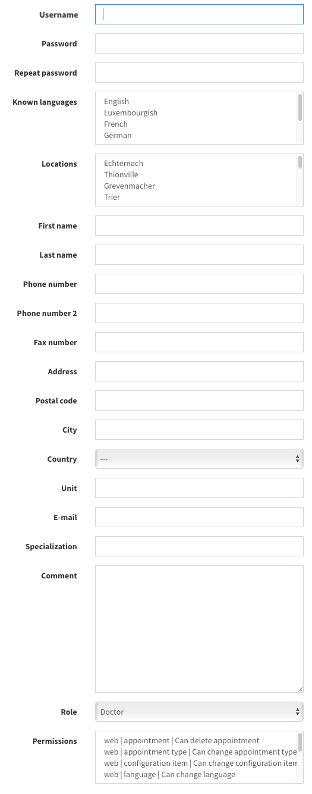
- Click on the green Add button to create the worker.

Worker can create appointment only for locations assigned to him. Moreover, in appointments calendar worker see only appointments from his locations.